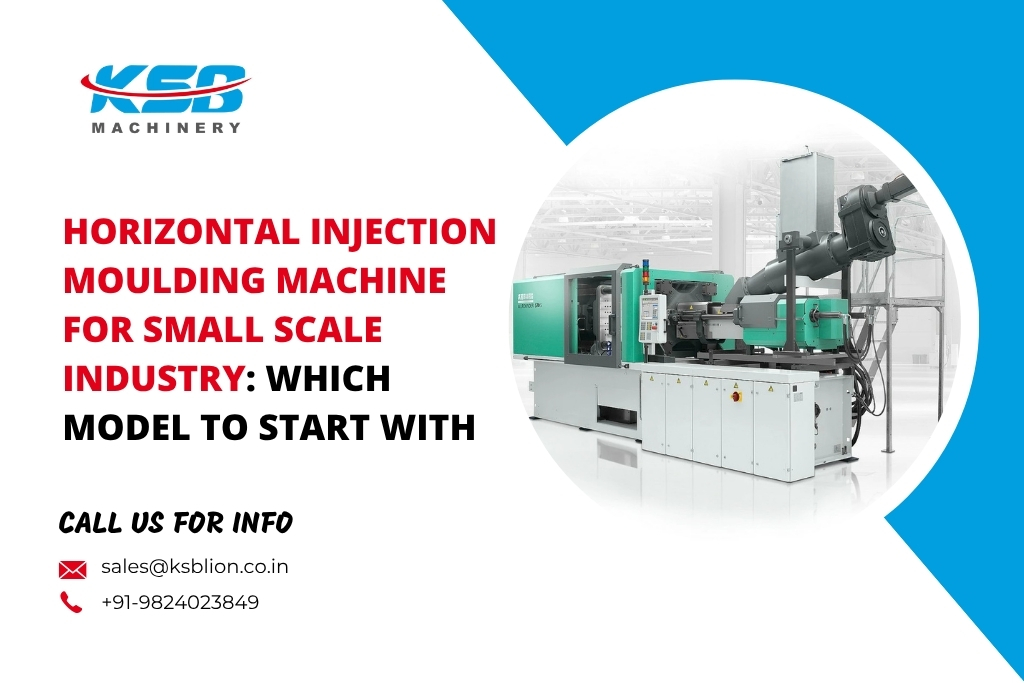
Pick the right first machine, and your small plastic unit starts on solid ground.
For most small units, a horizontal injection moulding machine in the 50 to 150 ton range is the best place to start. Choose a servo hydraulic model if power bills worry you, or a standard hydraulic model if your budget is tight. Before you buy, check shot size, clamp force and mould size against the products you plan to make.
- Start with your product, not the machine. Part weight and mould size decide the model.
- Most small units do well with 50 to 150 ton machines.
- Servo hydraulic machines cut power use without a big jump in price.
- Spare parts, service and training matter as much as the machine price.
Introduction
Starting a plastic unit is exciting, but the first big question is always the same: which machine should you buy? Go too small, and your moulds will not fit. Go too big, and you pay extra for power, floor space and a machine that sits half idle.
This blog helps you pick a horizontal plastic injection moulding machine for small scale industry without confusion. We keep the language simple and focus on what a new owner really needs to know.
What Is a Horizontal Injection Moulding Machine?
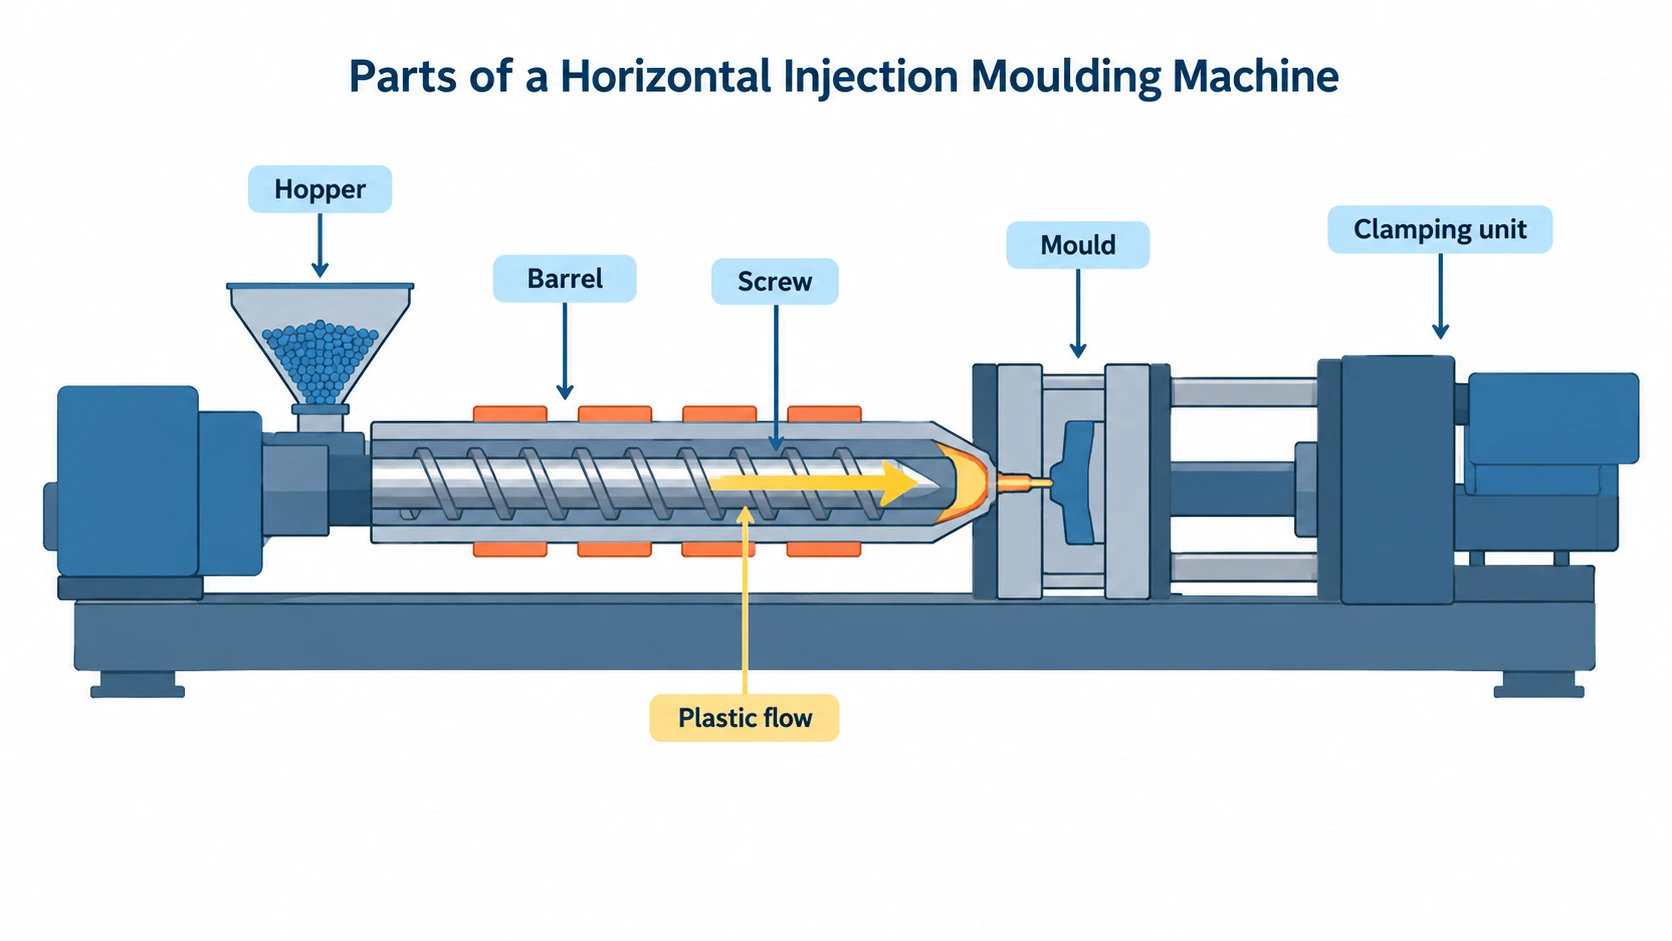
A horizontal plastic injection moulding machine melts plastic and pushes it into a closed mould. The injection unit and the clamping unit sit side by side in one straight line. The mould opens and closes sideways, and the finished part drops down into a bin or onto a belt.
This is the most common layout in the plastic industry. Buyers in India use it every day for caps, containers, toys, household items and pipe fittings. You can see the models we build on the same page.
Why Small Units Prefer Horizontal Machines
Small units have limited space, staff and money. A horizontal machine fits these limits well.
- Easy part removal: Parts fall out on their own, so one operator can run the machine.
- Simple mould fitting: The mould sits at a working height, which makes changes faster.
- Wide choice: You will find many sizes, brands and spare parts in the market.
- Easy upgrade: You can add a conveyor or robot later without changing the machine.
- Normal shed height: It does not need a very tall building.
If you are also thinking about the upright layout, our blog on What Is the Difference Between Horizontal Molding Machine vs Vertical Molding Machine explains where each one works best.
How the Machine Works
The process is simple once you see the steps.
- Plastic granules go into the hopper.
- A screw turns inside a heated barrel and melts the plastic.
- The mould closes and the clamp holds it shut.
- The screw pushes melted plastic into the mould. This is the injection.
- The part cools and hardens inside the mould.
- The mould opens and the ejector pushes the part out.
Then the cycle starts again. A small part may finish in under 30 seconds.
What Can a Small Unit Make?
One machine can serve many markets. Small units often make packaging caps, household items, toys, drip irrigation fittings, switchboard parts and small pipe fittings. Because moulds can be swapped, a single machine can handle several orders in a month. This is a big help when you are still finding your best-selling product.
Which Tonnage Should You Start With?
Clamp force, measured in tons, is the force that keeps the mould shut. If it is too low, plastic leaks out at the mould edges. The table below gives a simple starting point. These are typical ranges, so always confirm with your own mould drawing.
| Product | Typical Part Weight | Usual Machine Size |
|---|---|---|
| Bottle caps, small closures | A few grams | 50 to 90 ton |
| Toys, hangers, small household items | 20 to 100 g | 90 to 150 ton |
| Small pipe fittings | 20 to 200 g | 90 to 200 ton |
| Buckets, large containers | 200 g and above | 200 ton and above |
A small unit with mixed jobs often does well with one 90 to 150 ton machine, because it can take many different moulds. Clamp force and cycle time also work together, and our blog on Clamp Force Cycle Time Impact Moulding Quality explains how.
Hydraulic, Servo Hydraulic or Electric?
The drive system decides your power bill and your upfront spend. Here is a plain comparison.
| Type | Power Use | Upfront Price | Best For |
|---|---|---|---|
| Standard hydraulic | Higher | Lowest | Tight budget, basic items |
| Servo hydraulic | Lower | Medium | Daily running, steady orders |
| All-electric | Lowest | Highest | Neat, high-detail parts |
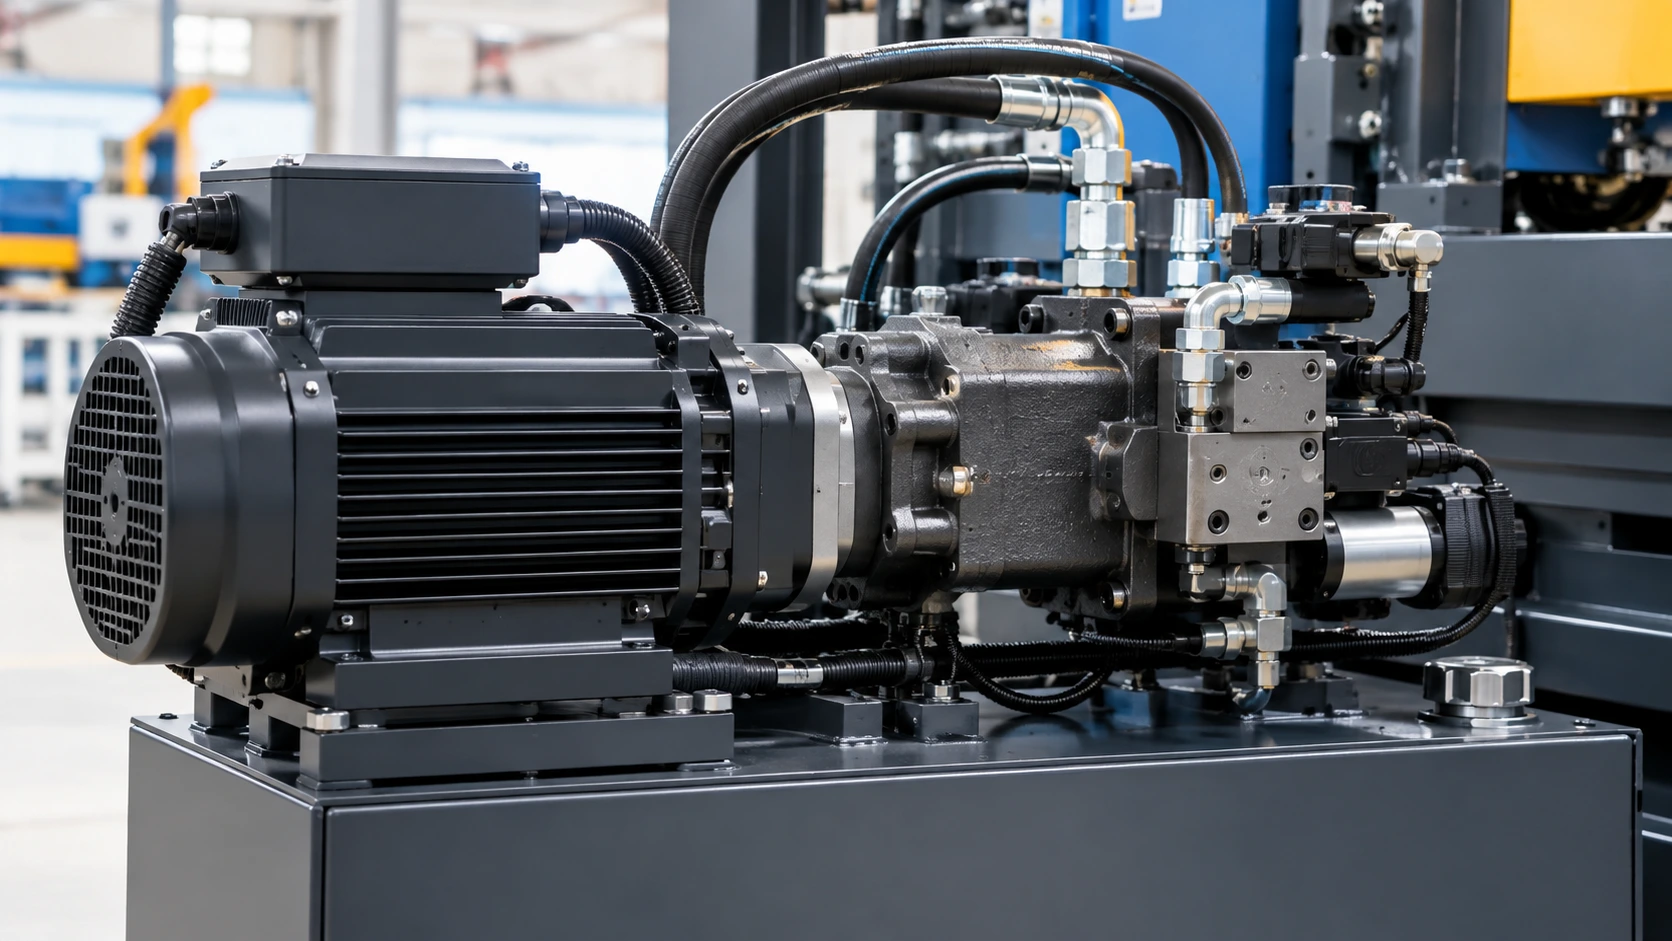
For most first-time buyers, servo hydraulic is the safe middle path. The servo motor runs only when needed, so you save on electricity. You can read more in our post on the Servo Injection Moulding Machine. If you want to compare newer drive types, see Electric vs Hybrid Injection Moulding Machines.
Key Specifications to Check
Before you sign anything, compare these points on the spec sheet.
| Specification | What It Means | Why It Matters |
|---|---|---|
| Clamp force | Force that holds the mould shut | Prevents flash and leaks |
| Shot size | Most plastic one cycle can push | Must be bigger than your part |
| Tie-bar spacing | Gap between the four bars | Your mould must fit through it |
| Mould thickness range | Smallest and largest mould allowed | Decides which moulds you can mount |
| Screw diameter | Width of the melting screw | Affects melt quality and speed |
Many new owners buy on tonnage alone and later find the mould will not fit. Always check tie-bar spacing too. It is also smart to keep a spare nozzle, heater band and set of seals on the shelf, so a small failure does not stop your orders for days.
Smart Buying Tips
Make your mould list first. Then pick the machine that fits the biggest mould you plan to run, with a little room to grow. Think about your next two years, not just your first month. If you expect orders to double, a slightly larger machine may save you from buying a second one too soon.
Ask for a trial run with your own mould or a similar one. Check how long service visits take and which spare parts are kept in stock. Ask if the maker trains your operators on day one. Costs go beyond the machine itself, and our blog on Factors That Affect Plastic Injection Moulding Costs in India lists them clearly.
For a longer checklist, see the Automatic Plastic Injection Moulding Machine Buying Guide India. If you already know your product and mould size, share them with our team on the Contact Us page and we will suggest a model that fits.
Simple Maintenance Habits
Small habits save big repair bills.
- Clean the hopper and keep metal bits out of the granules.
- Check hydraulic oil level and temperature every day.
- Grease the tie bars and moving parts as per the manual.
- Check heater bands and sensors once a week.
- Keep cooling water clean so the mould cools evenly.
- Purge the screw when you change colour or material.